




LEGO 20 Rigged Minifigures 3D Model
0







0
visits

Submitted by
mali222
Specifications
- Geometrypolygonal
- Polygons115,616
- Vertices115,227
- TexturesYes
- RiggedYes
- AnimatedNo
- 3D Printable ReadyNo
- Game Ready (low poly)No
- UV MappedYes
- Unwrapped UVsmixed
Description
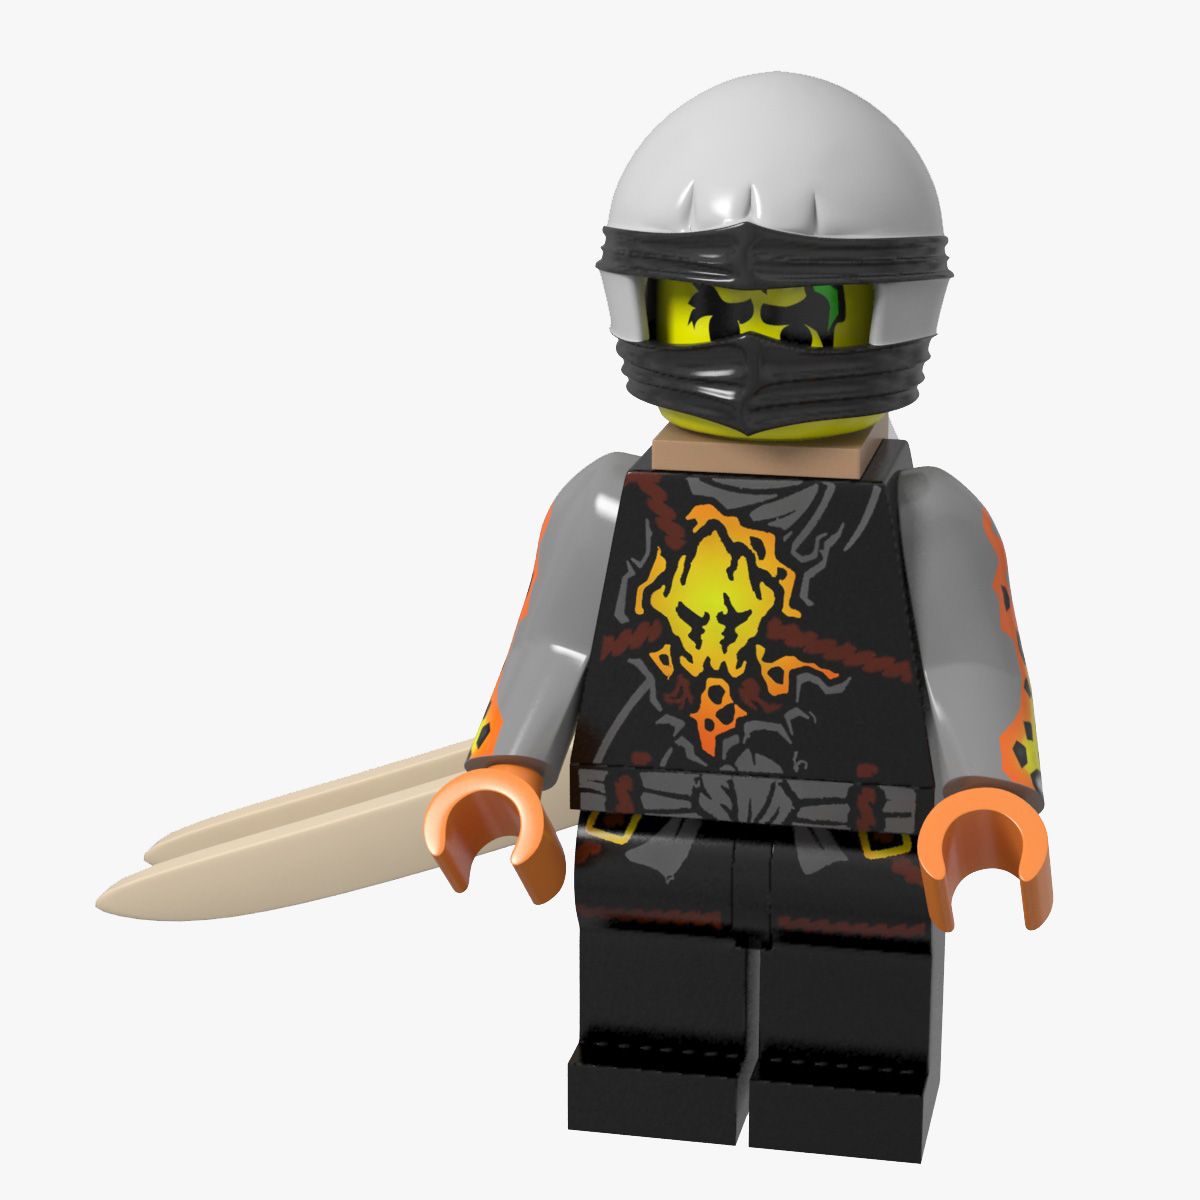
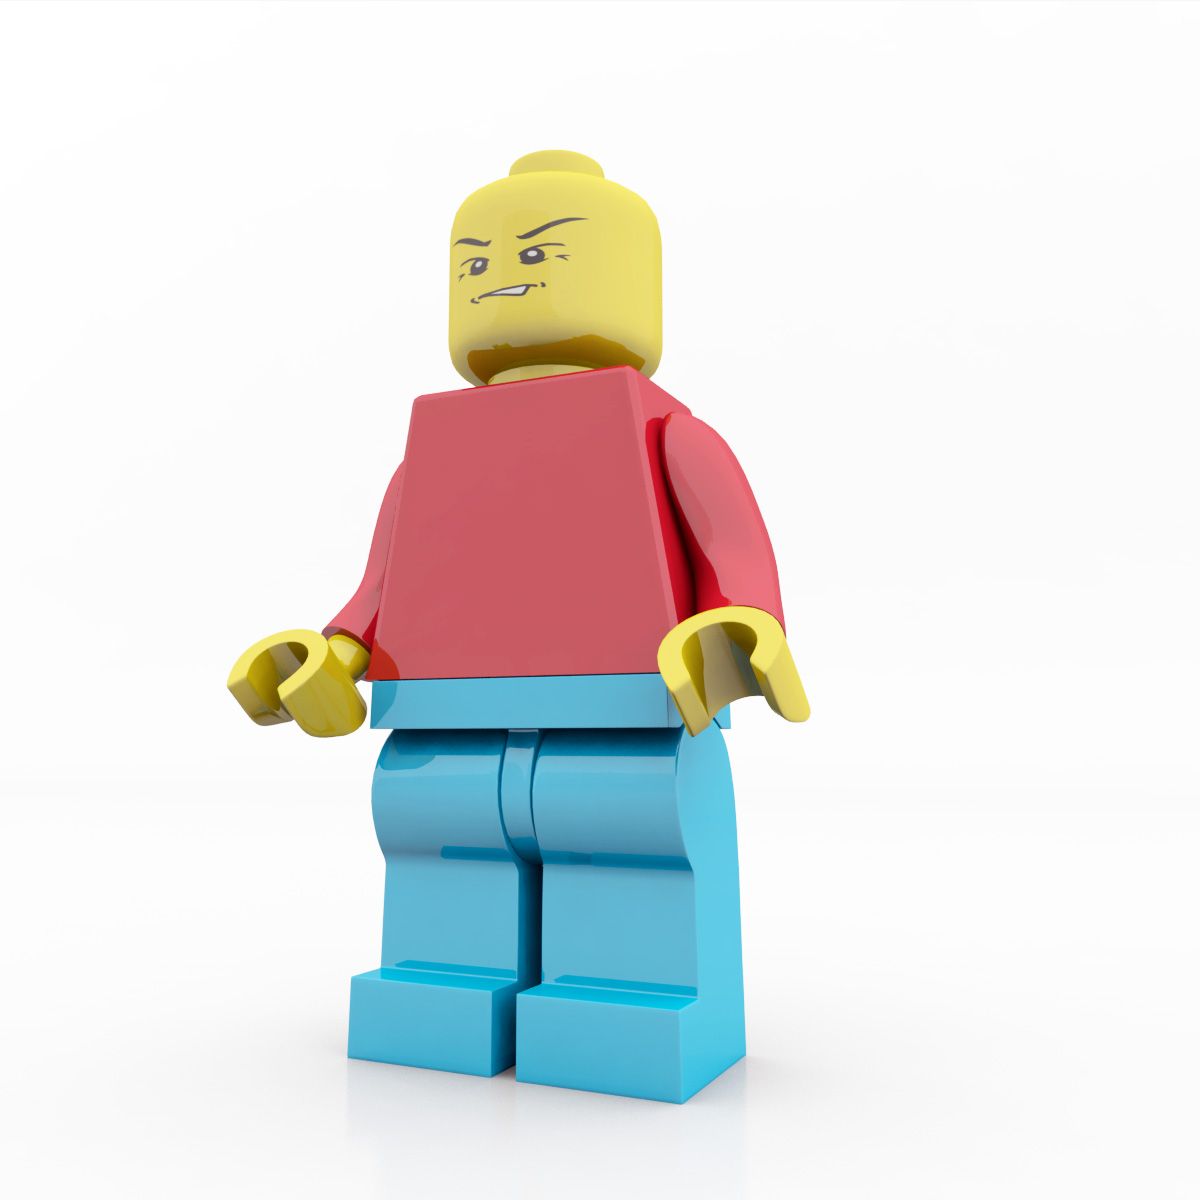
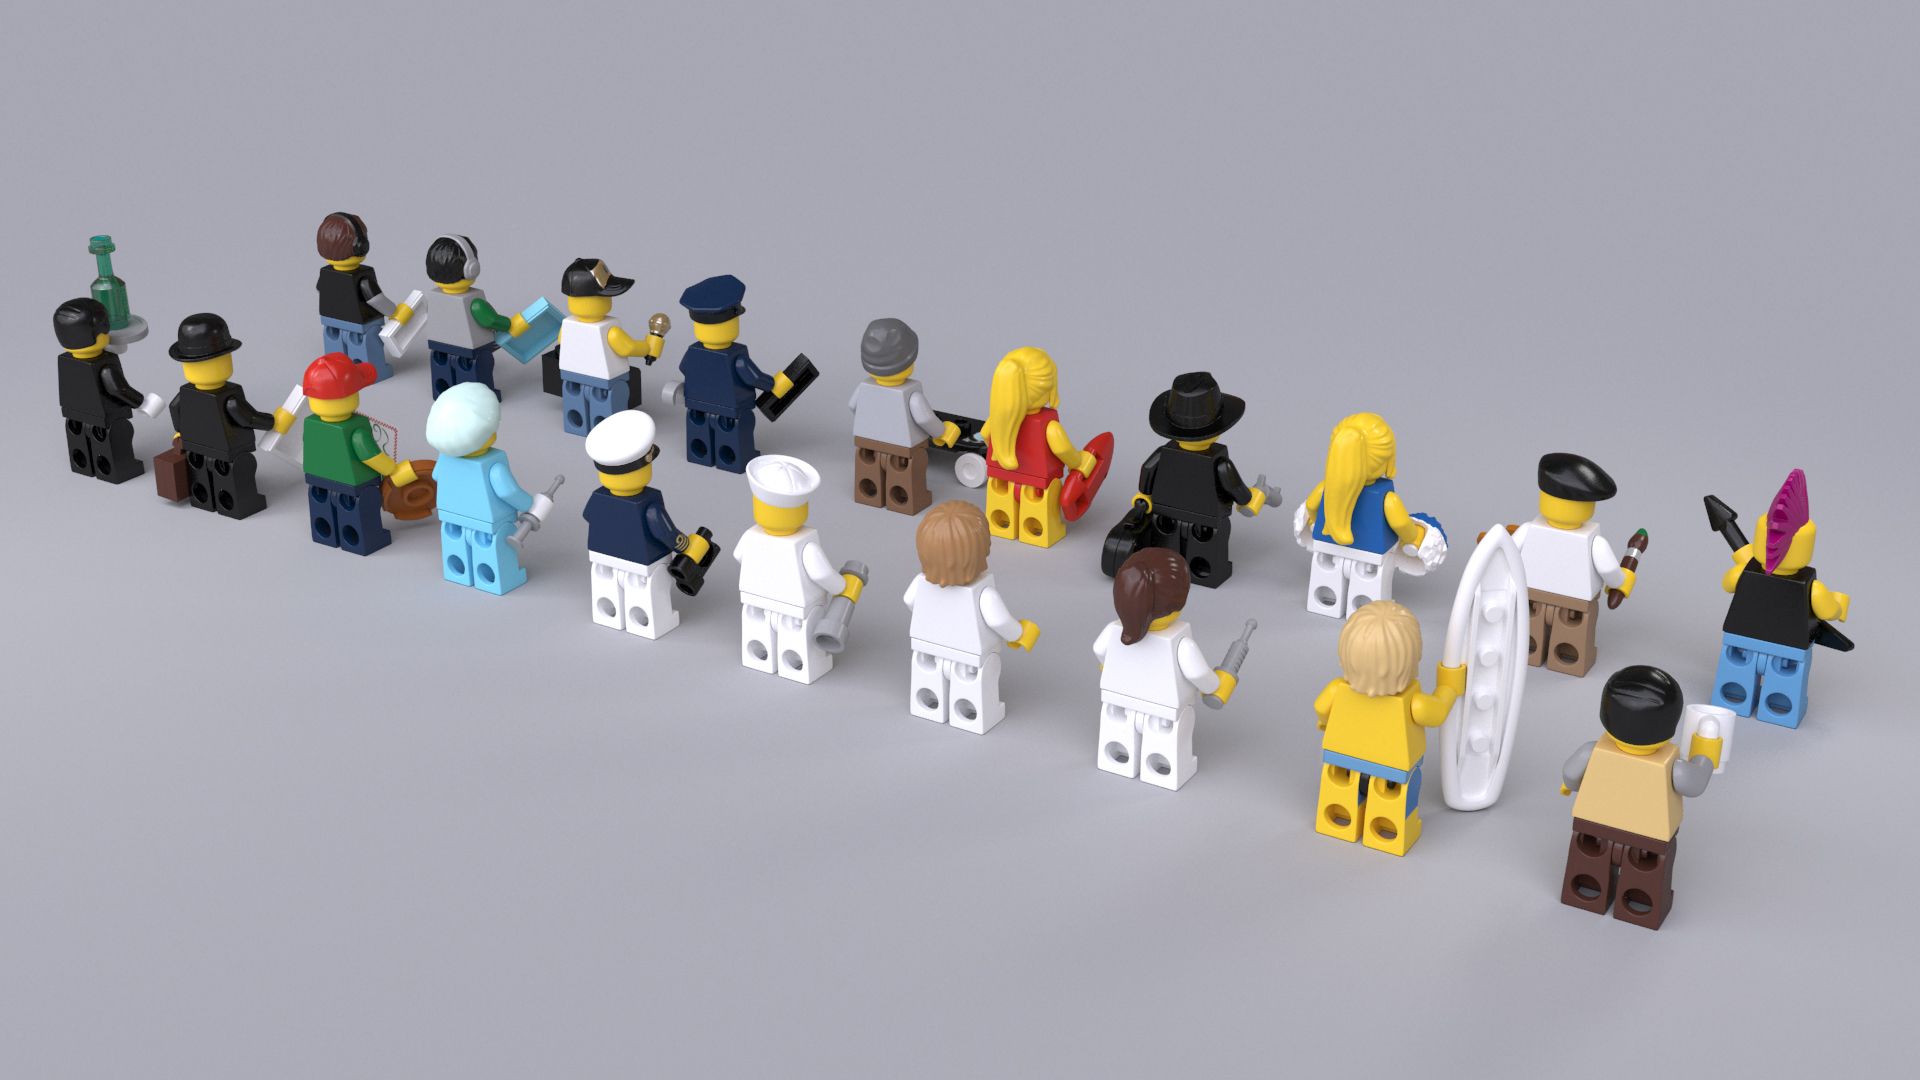
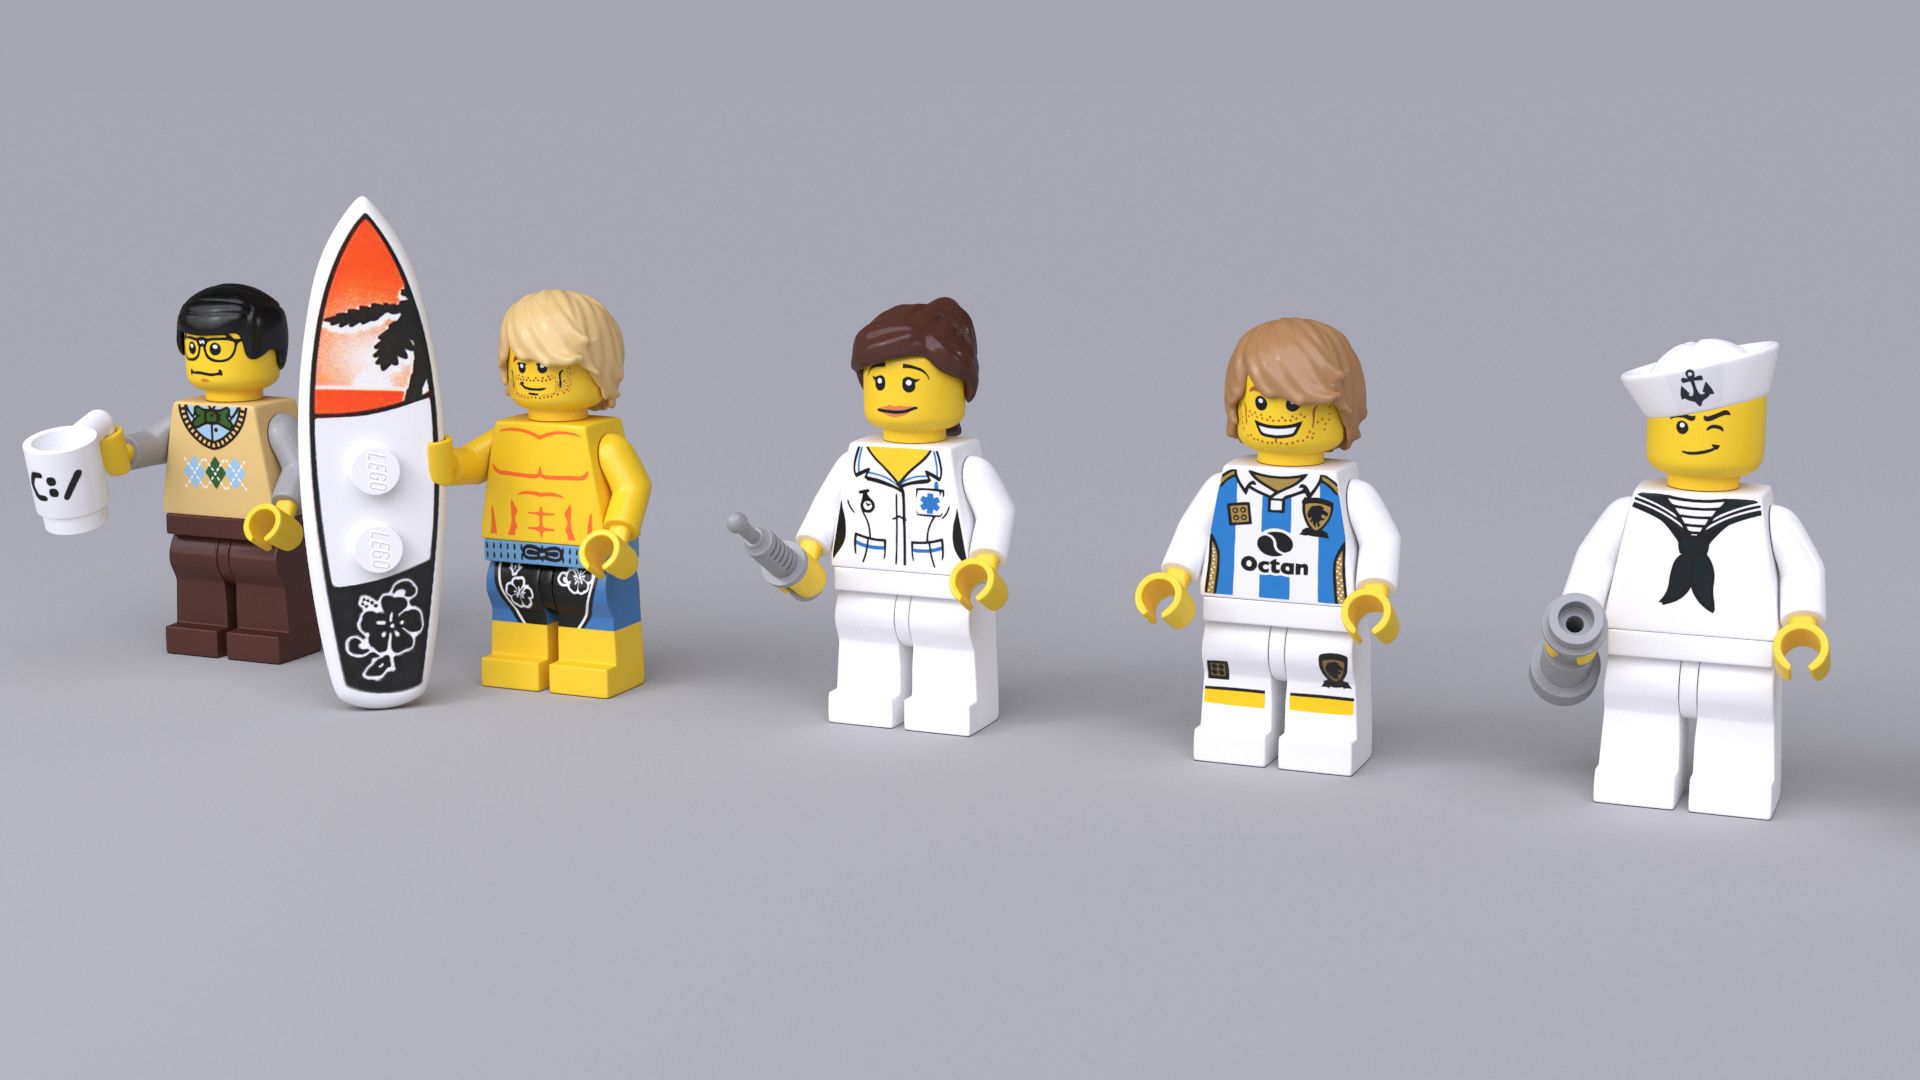
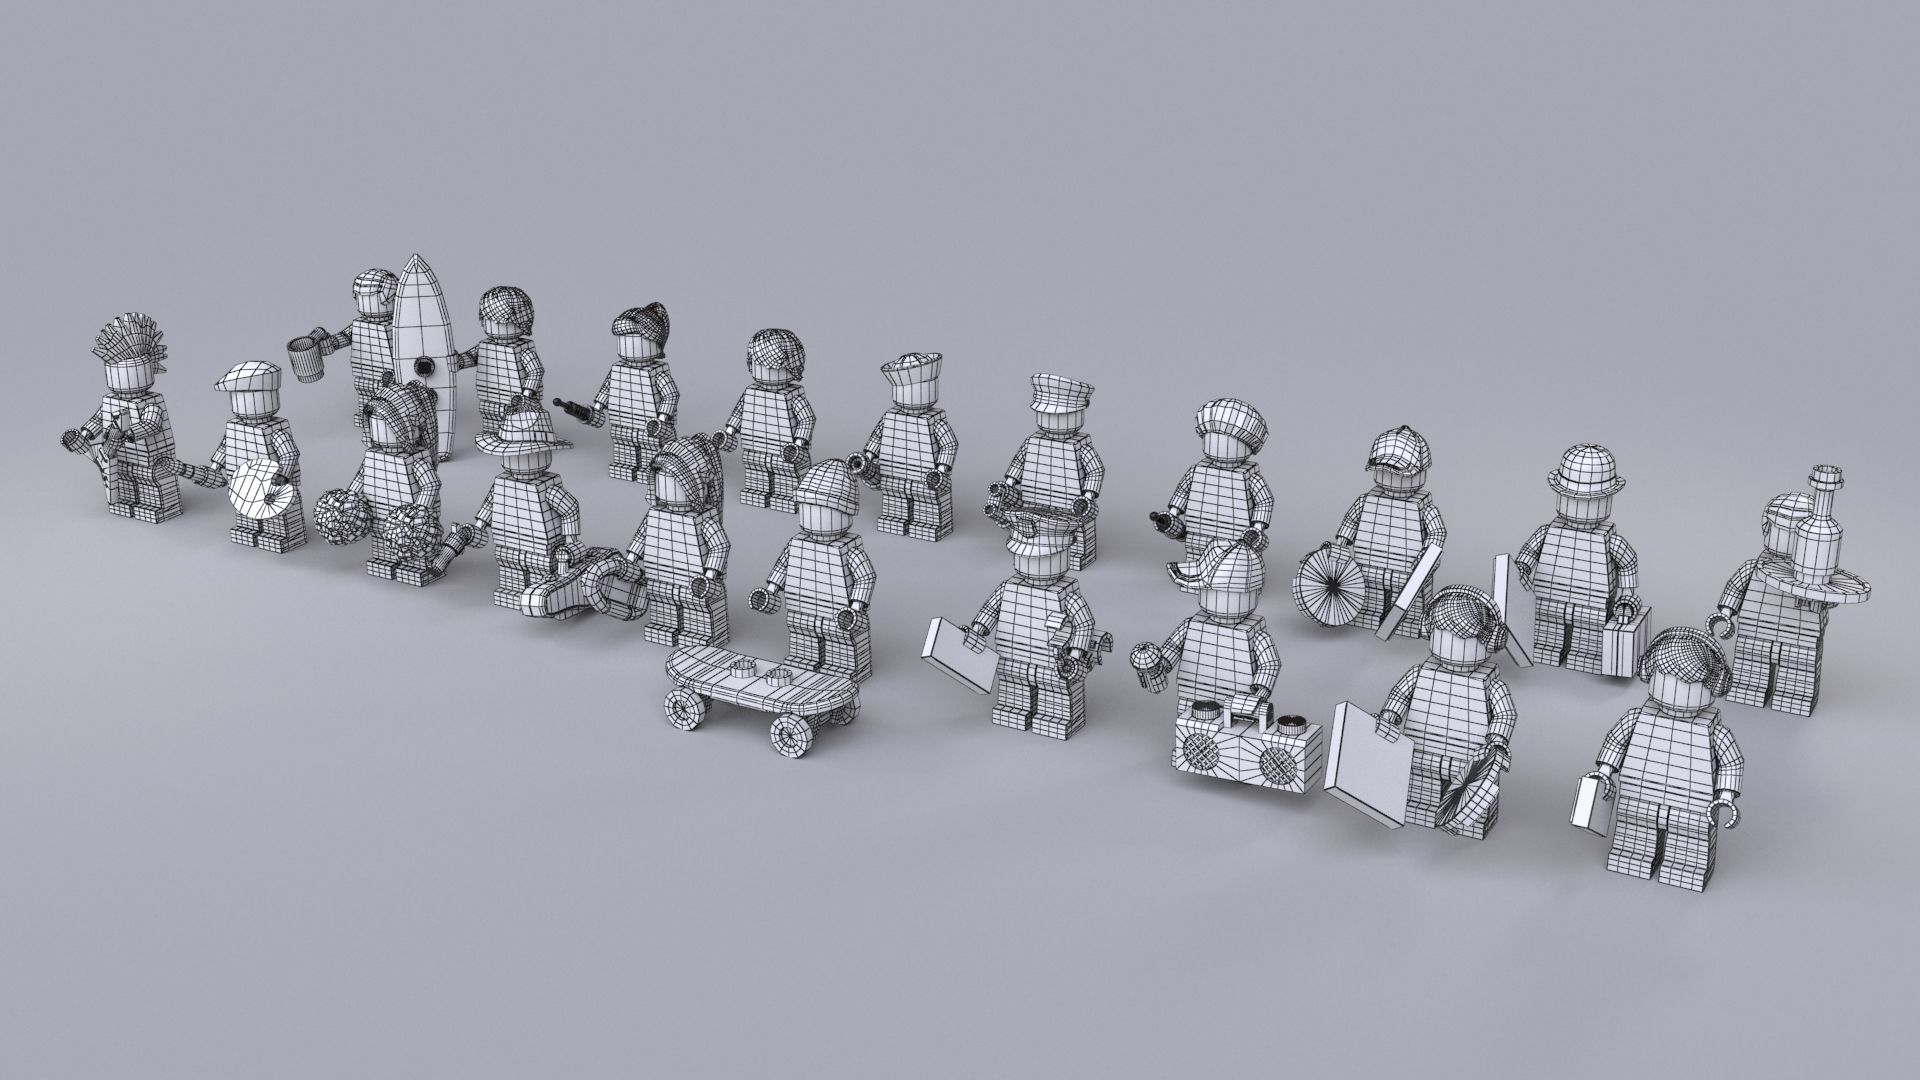
This is a collection of 20 (twenty) different rigged and textured high polygon 3d models of LEGO minifigures. By disabling the Turbosmooth modifier they can be used as low polygon models.
Only 9$ per character.
The collection includes all 20 minifigure models visible in the preview images together with all their accessories, textures and V-Ray materials. Lighting and rendering setup is also included.
Each figure without Turbosmooth has 3340 polygons.
Each character is rigged with 3ds Max character studio biped using skin modifier to make the joints flexible. They can also be easily used to make non flexible animation by using the models in their default pose.
Available file formats: 3ds max 2012 (and newer), FBX and .obj. In the obj version, all models are at lowest polygon count, ready to be subdivided if needed.
Models are built to real-world scale, using real measures and proportions.
All objects and materials are properly and uniquely named.
You can easily exchange any parts, accessories and textures to create your own custom characters. Accessories are linked to body parts.
In the preview files you will find a test animation using a motion capture file on this rig (the motion capture file is not included in this product). You can make your own animations or apply other motion capture files.
If loading a motion capture or another animation file breaks the hand pose (fingers/claws), there is a default posture saved so you can use it to fix the hand pose. Here is how to fix it:
1. Select any part of the character's skeleton (any part with 'Bip' as part of its name) and on the 'Motion' panel load an animation file. After doing this, the fingers break.
2. With the part still selected, open the 'Layers' rollout (still in the Motion panel) and click 'Create Layer'.
3. Toggle Auto Key mode on.
4. Open the 'Copy/Paste' rollout back in the Motion panel and make sure that the 'Posture' button is switched on. Underneath that you will see a 'Copied Postures' entry with a drop-down menu. Make sure that LFingRFing01 is selected.
5. Click the 'Paste posture' button just above the 'Copied postures' selection.
6. That's it! Now you can toggle Auto Key mode off or leave it on and continue adding changes to the animation layer you have created in step 2. This is a very good way to fix any additional errors that may have occurred on the rig after loading the animation file, like fixing the shoulders and clavicles, etc. Just select those parts of the rig and adjust them with the rotate tool while the Auto Key mode is on.
7. After you are done adding all the changes, you can go back to the 'Layers' rollout and click on 'Collapse'.
If you need more variety for your minifigures, please check out my other products. Thank you!
Sep 29, 2020
date added
Mar 01, 2022
last update
Reviews
There are currently no reviews for this product.
Why not be the first one to break the ice?